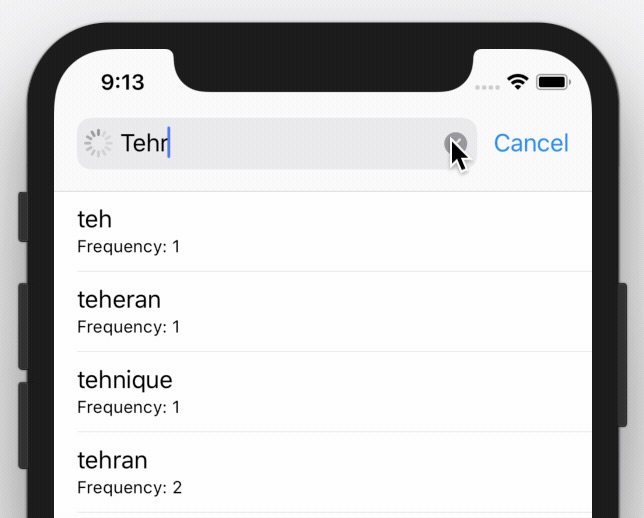
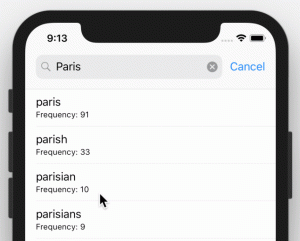
When you are using a search controller, most probably it’s a network call. Isn’t it nice to show a tiny loading animation instead of the magnifier icon on the left side of the search while your app is still waiting for data from the internet? Indeed.
To do this, you can use either use private API, which is frowned upon, or use UITextField‘s built-in methodsetImage(), I go for the latter one.
First of all, let’s see how it looks:
To show the loading animation we have to:
- find the search bar within the search controller
- remove the magnifier icon
- add an
UIActivityIndicatorViewto the search bar’sleftView
And to hide it it’s almost the same steps but in reverse.
To make the code reusable, let’s do it as an extension:
import Foundation
import UIKit

extension UISearchBar {
  //
}
First of all, we need to find the text field which is basically a UITextField within UISearchBar subviews. this computed property does the job for us and returns an option UItextField:
private var textField: UITextField? {
    let subViews = self.subviews.flatMap { $0.subviews }
    if #available(iOS 13, *) {
        if let _subViews = subViews.last?.subviews {
            return (_subViews.filter { $0 is UITextField }).first as? UITextField
        }else{
            return nil
        }

    } else {
        return (subViews.filter { $0 is UITextField }).first as? UITextField
    }

}
The next step is finding the current magnifier image, it’s similar to the previous step:
    private var searchIcon: UIImage? {
        let subViews = subviews.flatMap { $0.subviews }
        return  ((subViews.filter { $0 is UIImageView }).first as? UIImageView)?.image
    }
Let’s get hold of our loading animation, which is an UIActivityIndicatorView:
   private var activityIndicator: UIActivityIndicatorView? {
        return textField?.leftView?.subviews.compactMap{ $0 as? UIActivityIndicatorView }.first
    }
Now let’s add a public variable to show/hide the loading animation:
    var isLoading: Bool {
        get {
            return activityIndicator != nil
        } set {
            let _searchIcon = searchIcon
            if newValue {
                if activityIndicator == nil {
                    let _activityIndicator = UIActivityIndicatorView(style: .gray)
                    _activityIndicator.startAnimating()
                    _activityIndicator.backgroundColor = UIColor.clear
                    let clearImage = UIImage().imageWithPixelSize(size: CGSize.init(width: 14, height: 14)) ?? UIImage()
                    self.setImage(clearImage, for: .search, state: .normal)
                    textField?.leftViewMode = .always
                    textField?.leftView?.addSubview(_activityIndicator)
                    let leftViewSize = CGSize.init(width: 14.0, height: 14.0)
                    _activityIndicator.center = CGPoint(x: leftViewSize.width/2, y: leftViewSize.height/2)
                }
            } else {
                self.setImage(_searchIcon, for: .search, state: .normal)
                activityIndicator?.removeFromSuperview()
            }
        }
    }
This piece of code looks for an existing activity indicator and if there is none, first creates one, cleans the default image for seach mode, the magnifier image, sets a new transparent image with 14 point in 14 point in size then adds the recently created UIActivityIndicatorView to left search bar’s leftView; And to hide it, smiple removes the UIActivityIndicatorView and set back the image for search mode.
To use it simple set searchController.searchBar.isLoading = true but be careful if you are using it inside another block, call it withing the main queue.
You can download the whole code from github. The UIImage extension, imageWithPixelSize(), is also available on github

